Create a new requisition
Click 'Manage position description library' in the 'Job description' tile from your dashboard. You can also use the stacked (hamburger) menu in the upper left and select 'Manage position description library' under either 'Workflows' or 'Requisitions'.

From the library search for the position you want to recruit for.

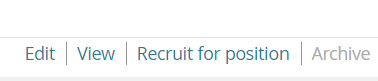
To launch the requisition, click 'Recruit for position' to the right of the listing.
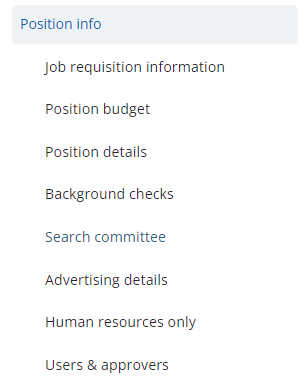
You will be presented with the job requisition information page. Relevant information about the position will be brought over from the position description. Fill out additional information using the 'Position info' section. Ensure you complete all mandatory fields (these are marked with an asterisk). You can jump to different sections of the requisition using the nested links in the left side bar navigation menu.
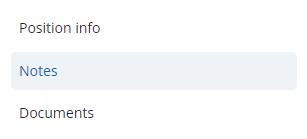
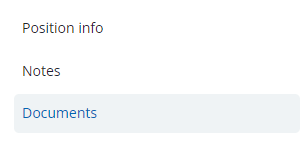
Add Notes and Upload Documents
Use the 'Notes' section to record extra information about the requisition. You can send emails about the recruitment from the this area. Notes will be visible to anyone who has access to the requisition.
Use the 'Documents' section to attach recruitment documents (if needed). Documents will be accessible to anyone with access to the requisition.
Saving and submitting
'Save a draft' can be used when you need to save the requisition you are working on and come back and complete it at another time. When all details have been entered, and you are ready to start the approval process, click 'Submit' to submit and keep the page open or click 'Submit and exit' to submit and close the page.

Viewing Requisitions
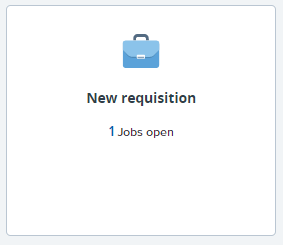
To view a requisition, click on the 'Jobs open' link in the 'New requisition' tile on the dashboard.
Click on the column headers to sort jobs. Click 'view' to open the requisition.

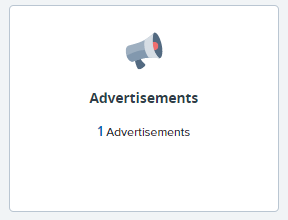
Jobs that are currently posted to sourcing sites can be found in the 'Advertisements' link in the 'Advertisements' tile.
Click on the column headers to sort sourced jobs. You can also preview job ads from this page.
